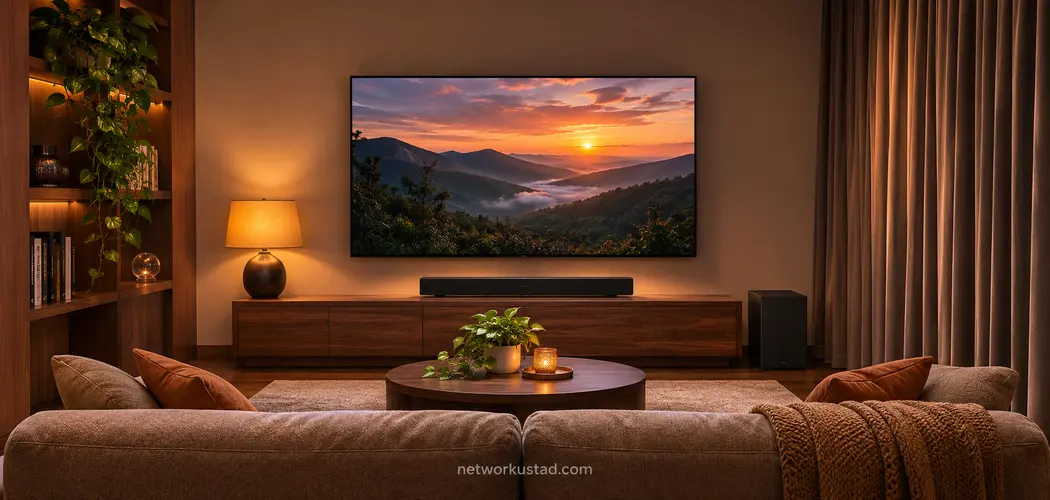
Before you buy a bigger TV or another set of speakers, watch a scene you know from your usual seat. Can you see detail in the darker parts of the picture? Can you hear a quiet line of dialogue without turning up the volume for the next explosion? The answers tell you where to start.
A home theater setup has three parts you can change independently: the room, the equipment settings, and the equipment itself. Start with the room and the settings. A lamp reflecting in the screen or a soundbar pushed to the back of a cabinet can make decent equipment seem worse than it is.
Start your home theater setup with a repeatable test
Pick three short clips. Use a dark scene with visible background details, a quiet conversation, and a scene with an obvious sound effect off to one side. For gaming, add a title where you can feel the timing of a button press. Use the same clips each time you make a change.
Write down what is connected to what. Note the TV input, the source device, and whether sound is coming from the television, soundbar, or receiver. If you use the TV’s built-in apps as well as a console or streaming box, test both. A problem confined to one source is easier to narrow down than a problem you hear everywhere.
Photograph your settings before adjusting them. Change one thing and replay the clip. If you change the picture preset, shift the sofa, and close the curtains at once, you may like the result without knowing what helped. That makes it harder to repeat the improvement during daytime viewing or on another input.
| What you notice | First check |
|---|---|
| Dark scenes look washed out only during the day | Check for window reflections from your normal seat. |
| Dialogue is harder to hear than effects | Check which speakers are active and whether the center speaker is blocked. |
| Surround speakers seem silent | Run the receiver’s speaker test, then try a source with a known surround track. |
| TV apps play through the wrong speakers | Check the TV audio output and the HDMI port marked ARC or eARC. |
| A game feels slow to respond | Compare Game mode with your current picture mode on that input. |
Fix glare and viewing angles in your home theater setup
Sit where you normally watch with the display off. Look for reflected windows, lamps, and bright walls. Close the blind or move a lamp, then replay the dark clip. A reflection can cover shadow detail even if the display has enough brightness for the room.
Check the screen from the other seats too. A picture that looks good straight on may look different at the end of the couch. If someone has to turn their neck up or sideways for a whole movie, try adjusting seating or display position before shopping for a larger panel. For a wall mount, follow the TV and mount manufacturers’ instructions for compatibility, support, and installation.
Try a picture preset before changing individual controls
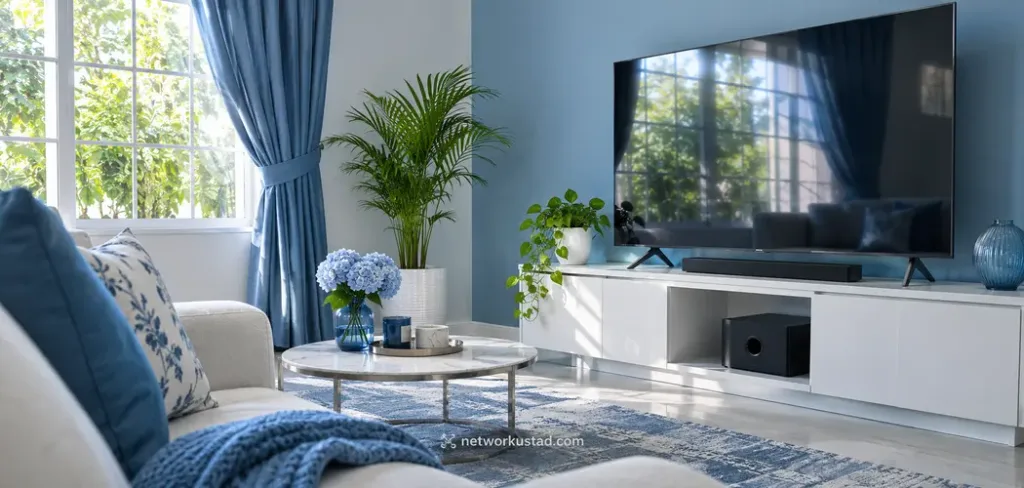
Compare the current mode with a movie-oriented preset, if your TV has one. Start with familiar skin tones, white clothing, and a scene with visible detail in shadows. Give your eyes a moment to adjust. A brighter or bluer picture can look striking at first without being easier to watch over a full film.
Check that the entire picture fits the screen. If text or interface elements near the edge disappear, look for the display’s aspect-ratio or screen-fit setting. Adjust it on the affected input, then verify that the picture is no longer cropped. Manufacturers use different names for this control.
You may want one setup for daytime viewing and another for movie night. Some TVs remember settings by input or separately for standard and high dynamic range content. If an adjustment seems to disappear, check what you’re watching and whether the display switched modes. Avoid copying another owner’s calibration values without checking them on your unit.
Decide whether a TV or projector suits the room
A projector can make sense when you want a larger image and can control the light. Before buying, measure the distance from the proposed projector position to the screen. Check the model’s throw chart for the image size it can produce from that spot. Account for mounting, cable routing, and the speaker position before placing an order.
If the room doubles as a bright living space, compare how a TV and projector would look under the conditions you actually use. Consider where the screen can go and whether people walk between the projector and screen. If a new TV makes more sense, NetworkUstad’s Mini-LED TV guide explains one display technology you may encounter while comparing models.
Make dialogue clearer before adding speakers
In a home theater setup with several audio devices, start by checking that the sound is coming from the intended device. A TV can switch back to its own speakers after a setting change or a connection problem. Verify the output in the TV menu and listen close enough to identify which device is playing.
If you have a soundbar, place it where the front drivers have a clear path to the couch. Check that the television stand or cabinet edge does not block it. Follow the manufacturer’s placement guidance if the bar has upward- or side-firing speakers. A shelf that fits the bar neatly can still interfere with how those speakers are intended to work.
On a receiver with a separate center channel, run the speaker test to confirm the center is connected and assigned correctly. Then listen to your dialogue clip. If the center is tucked behind a cabinet door or a deep shelf lip, try giving it a clearer path. Change the level only after checking placement. Small adjustments are easier to evaluate when you return to the same scene.
If dialogue is hard to follow only at night, try your equipment’s dialogue or night mode if available. Read what the setting does. Some settings reduce the difference between loud and quiet sounds, which can help when you need to keep the volume down. Compare it with your usual setting at a similar listening level.
Choose a soundbar or 5.1 based on the room
A soundbar can simplify a home theater setup when you want fewer visible cables and have limited space for separate speakers. Check what the package includes. Some bars are sold alone, while others include a subwoofer or separate surrounds. If the system calls a speaker wireless, check whether that speaker still needs a power outlet.
A 5.1 system gives you separate front left, center, front right, and two surround channels, plus a subwoofer. Use Dolby’s speaker placement guides to plan around the main seat. If you can’t place or wire the surrounds where they’ll work in your room, factor that into the buying decision.
After moving a speaker or the sofa, rerun the receiver’s calibration if it has that feature. Follow the supplied microphone instructions and keep the room quiet during the test. Play your familiar clips afterward. If one seat sounds good and another gets overpowering bass, try small changes to subwoofer or seating position before raising the bass level for everyone.
Check how sound travels through your home theater setup
HDMI ARC and eARC let a compatible TV send sound back to a compatible soundbar or receiver. Use the ports marked for that function. Check the TV’s audio output selection and the audio device’s input. The HDMI eARC guide explains the connection and the formats eARC can support. What you actually get depends on the source, the TV, and the audio device.
Test a built-in TV app first if you use one. Then test each external device. If stereo works but surround does not, check whether the program has a surround track, which track is selected, and what output format the source is sending. Check the receiver’s information display if it can show the incoming signal. Sound from several speakers can come from a stereo track processed by the receiver.
If your home theater setup runs a console through a receiver, check what video modes that receiver can pass through. If one link cannot pass the mode you want, a connection from the console straight to the TV may help, with audio sent back through ARC or eARC if supported. Verify both picture and sound after changing the route. The settings on each device may need to match the new connection.
Troubleshoot dropouts and lip-sync problems one link at a time
If sound drops out, note when it happens. Does it occur when you switch apps, when a movie starts, or throughout playback? Test another app on the same device and another device on the same TV. If only one HDMI source has the issue, try a known working cable suited to that signal or another compatible input.
If the picture and sound seem out of sync, use a clip with a person facing the camera or a sharp action you can both see and hear. Check whether the issue happens through the TV’s speakers as well. If an audio delay control is available, make a small adjustment and replay the clip. Adding audio delay can help when the sound arrives early. If it already arrives late, check for processing delays before adding more.
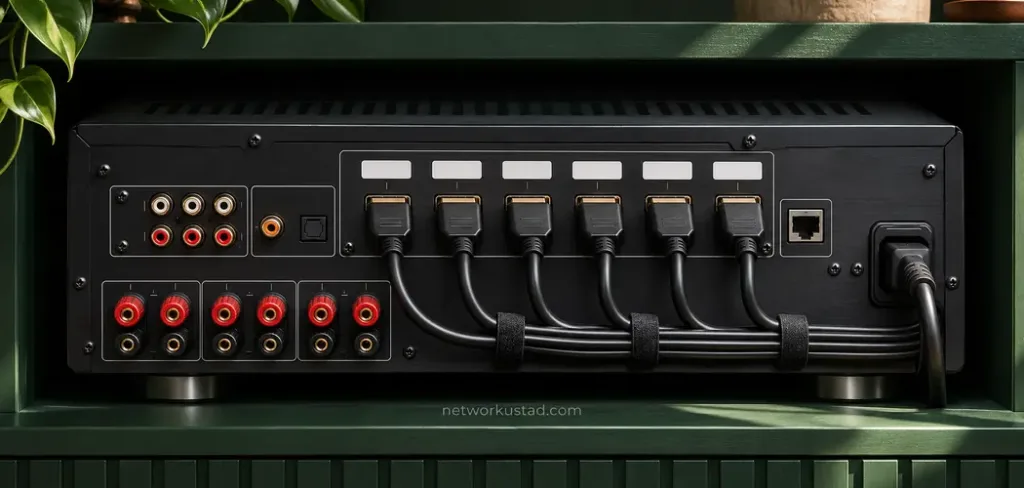
Label cables at both ends and leave enough slack to move a device without pulling on its ports. Keep ventilation openings clear. That makes the next troubleshooting session easier and reduces the chance that a loose connection becomes a new problem while you fix an old one.
Decide what is worth upgrading
Put the biggest remaining problem with your home theater setup in one sentence. A TV upgrade may make sense if bright-room viewing still fails after you control the reflections. A soundbar may make sense if you want clearer dialogue and have nowhere to put a receiver or separate speakers. A receiver upgrade may be justified if your sources require a video mode the existing unit cannot pass and changing the connection route does not solve it.
Give each purchase a test it has to pass. If you buy a soundbar for dialogue, listen at the volume you use in the evening. If you buy a projector for a larger image, judge it from your main seat with the lights you expect to keep on. Measure the space and check ports before ordering so you can test the intended setup as soon as the gear arrives.
For a shared room, agree on two settings everyone can find, such as a daytime picture mode and an evening audio mode. Keep a note showing which remote or app selects them. An improvement that takes five menu changes every time may go unused even when it works well.
Finish with a ten-minute check
- Replay your dark scene from the main seat in daylight and after dark.
- Listen to a quiet conversation at your usual evening volume.
- Run the receiver’s speaker test if you have separate speakers.
- Check audio from the TV’s built-in apps and from each device you use regularly.
- Test a game in its intended picture mode if the system doubles as a gaming setup.
- Save a photo or note of your home theater setup and the settings you want to keep.
The best home theater setup for your room is the one you can use comfortably on an ordinary evening. If you can follow the dialogue, see the picture from your seat, and switch sources without losing sound, you have a reliable baseline. Upgrade from there when you can identify a specific limitation the new equipment will solve.