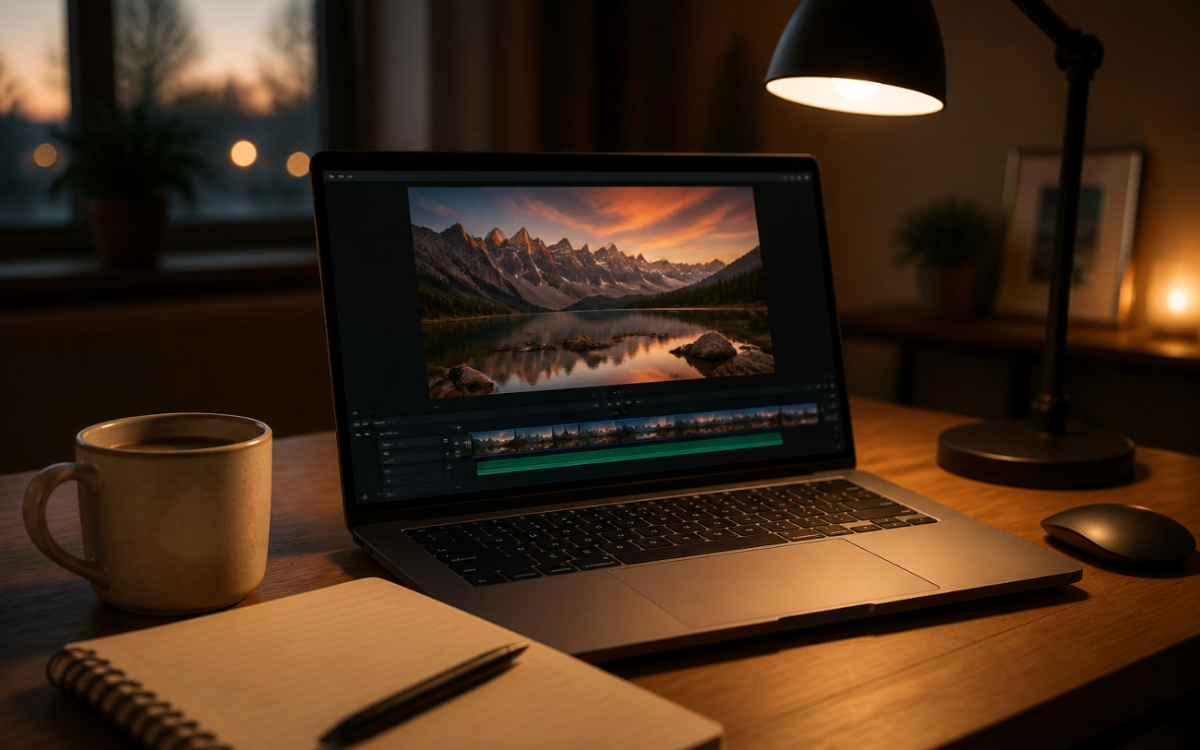
You know the frustration: the tutorial recording looked sharp on your screen while you captured it, yet it turned soft and pixelated the moment it reached your learning platform. Compression, low bitrates and aggressive resizing strip away exactly the details your students need — the code in a terminal, the menu paths, the position of your cursor. And once your course calendar is full, re-recording an entire lesson is rarely an option.
You can, however, fix the recording you already have. Wondershare Repairit ships an AI Video Enhancer built for precisely this situation: it reconstructs blurred frames, sharpens fine details and removes noise automatically while you wait. If you prefer not to install anything, you can open its convenient online version for quick fixes and enhance a clip directly in your browser. The sections below show you why recordings lose quality in the first place, and how you can restore yours in three steps.
Part 1. Why Your Tutorial Recordings Lose Quality
Common Causes of Blurry or Pixelated Footage
Once you know where clarity is lost, you can recover it more easily. Four culprits account for most cases:
- Platform Compression: upload pipelines re-encode every video at a reduced bitrate, and the fine detail in your screencast is the first thing to be discarded.
- Low Source Resolution: captures made below 1080p do not carry enough pixels to survive full-screen playback without turning soft.
- Insufficient Bitrate Settings: screen recorders tuned to produce small files render your moving cursor and scrolling text as blocky, fuzzy artifacts.
- Display Scaling and Zooming: stretching a 720p capture across a 4K monitor enlarges pixels instead of adding detail, which makes the blur even more visible to your audience.
What Is an AI Video Enhancer?
Wondershare Repairit is an advanced, AI-powered data repair tool that fixes corrupted videos, photos and files, and restores the visual quality of damaged media. Its AI Video Enhancer is the feature you need for this problem: instead of stretching pixels, the AI model rebuilds edges, textures and on-screen text inside every frame of your footage, then upscales the result to the resolution you choose.
Key Features
- AI Unblur, Sharpen and Denoise: three dedicated models target blur, grain and compression artifacts separately, so each defect in your recording is corrected with the right technique.
- 4K Upscaling: 4X resolution enhancement turns a soft 720p capture into a clean, cinematic 4K render that looks sharp on large displays.
- Batch Processing: you can queue an entire course folder and enhance every recording in one run instead of repeating the workflow file by file.
- Wide Format Support: MP4, MOV, AVI, MKV, 3GP, FLV, WEBM and more, with no limit on file size in the desktop version.
- Cross-Platform Availability: the tool runs on Windows and Mac, and the online edition covers lightweight jobs straight from your browser.
Part 2. How to Enhance Your Video in Three Steps
You can complete the whole job in three steps.
Step 1. Open AI Video Enhancer and Import Your Recording
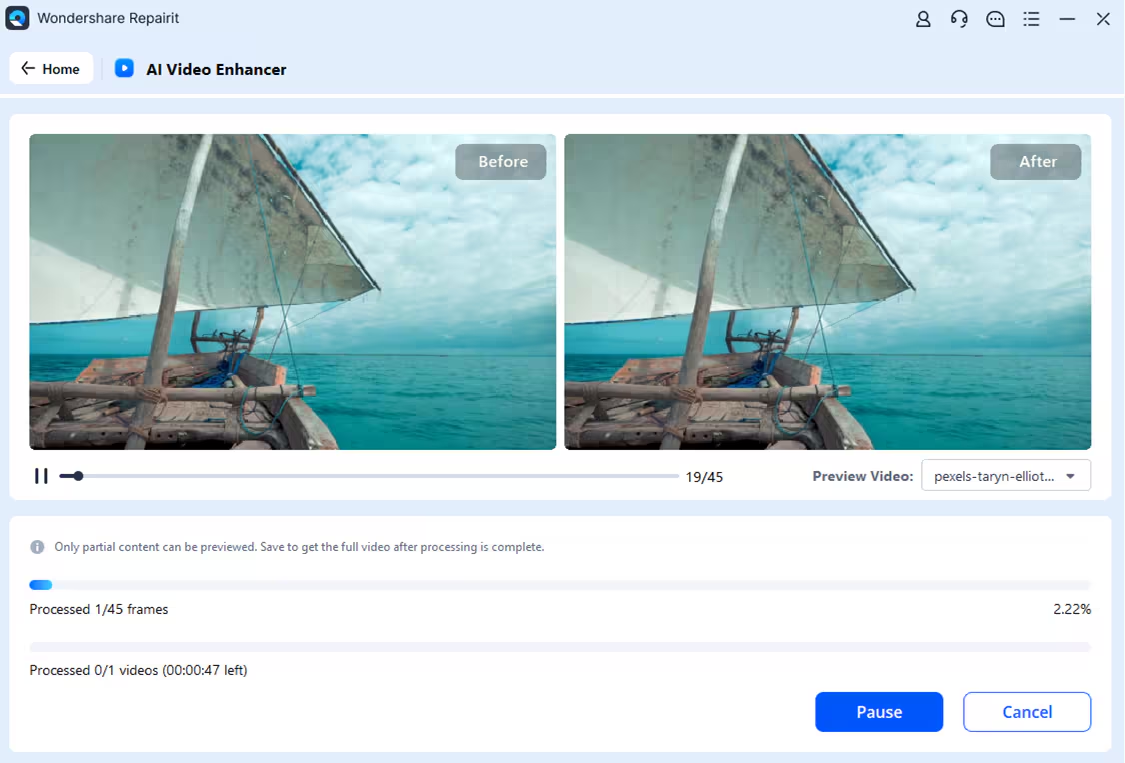
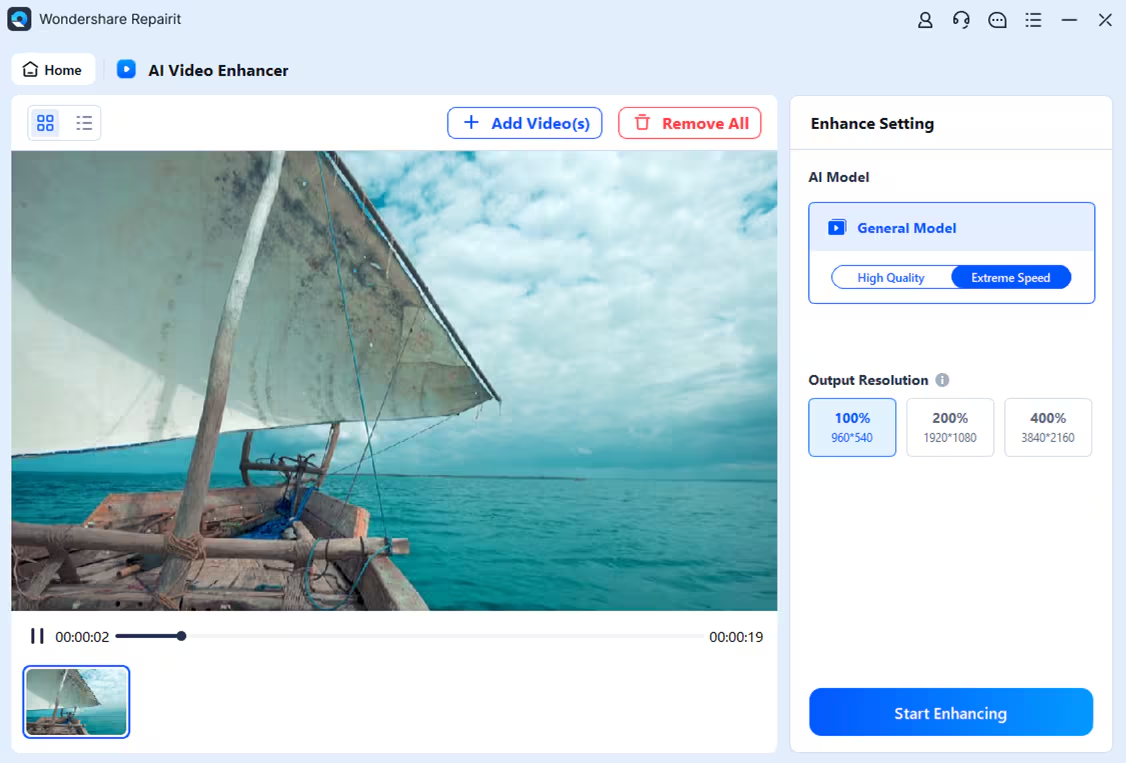
Launch Wondershare Repairit on your Windows or Mac, click the “AI Video Enhancer” section, then press “+ Add” or drag and drop your files. You can queue several recordings at once and enhance them all in a single batch run. On Windows,you can repair like this:
Step 2. Select the Output Resolution and Start Enhancement
Choose the output resolution you need — up to 4K — and click Enhance. The AI models process your footage frame by frame, unblurring on-screen text and clearing away noise without any further input from you.
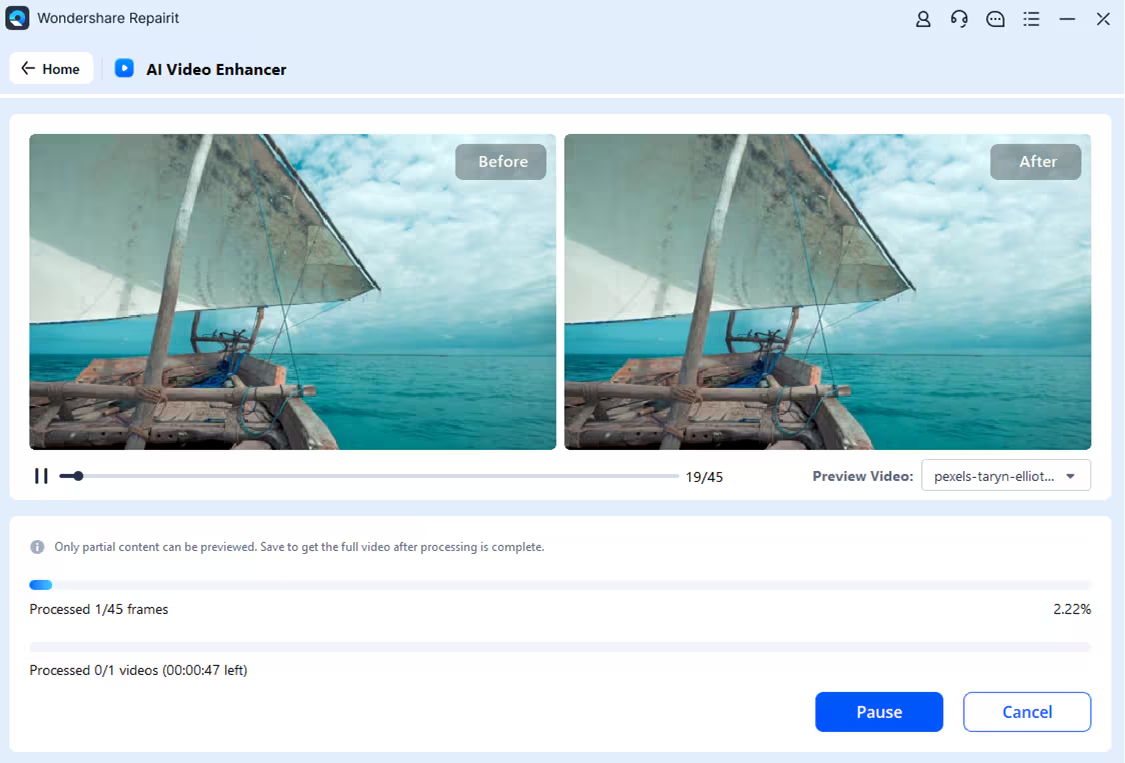
Step 3. Preview and Download Your Enhanced Video
When processing finishes, play the before-and-after preview to check that terminal text, menu labels and cursor paths are legible again, then save the enhanced file to your device.
Key Technical Advantages
Here is what you gain compared with re-encoding the file or switching players:
High Enhancement Quality: dedicated AI models for blur, sharpening and noise correct each defect with the right technique instead of applying one blunt filter.
Batch Runs Without Size Limits: the desktop version processes your long lectures in bulk, so a semester of recordings becomes one job.
Three-Step Simplicity: import, enhance, save — no timeline editing and no parameter tuning, which matters when you maintain dozens of course videos.
Online Convenience: when you only need a quick fix for a short clip, open Repairit Online in your browser and enhance it there — upload, enhance, download, with nothing to install. It is the fastest route between lectures.
Part 3. Tips to Keep Your Future Recordings Sharp
Prevention beats repair, so build these four habits into your next recording session:
Record at 1080p or Higher with a Sensible Bitrate: match your recorder’s quality settings to the strictest platform you publish on, so compression has less to remove.
Enlarge Interface Text Before Recording: bigger fonts and a larger cursor survive re-encoding far better than 10-point text.
Keep Motion Steady: avoid rapid scrolling and constant window switching; calm, deliberate movement compresses cleanly and reads better.
Enhance Supporting Images Too: if a slide screenshot or a frame grab from your video is blurry, run it through the AI photo enhancer, which restores sharpness in stills the same way the video enhancer does for footage.
Conclusion
A blurry tutorial recording is a repairable problem, not a reason to reshoot. You can rebuild sharpness, remove noise and upscale your footage to 4K in three steps with the AI Video Enhancer in Wondershare Repairit, and the online version covers quick fixes from any browser. Load your next fuzzy recording, run the enhancement, and compare it with the original — you will usually see the difference within the first ten seconds.