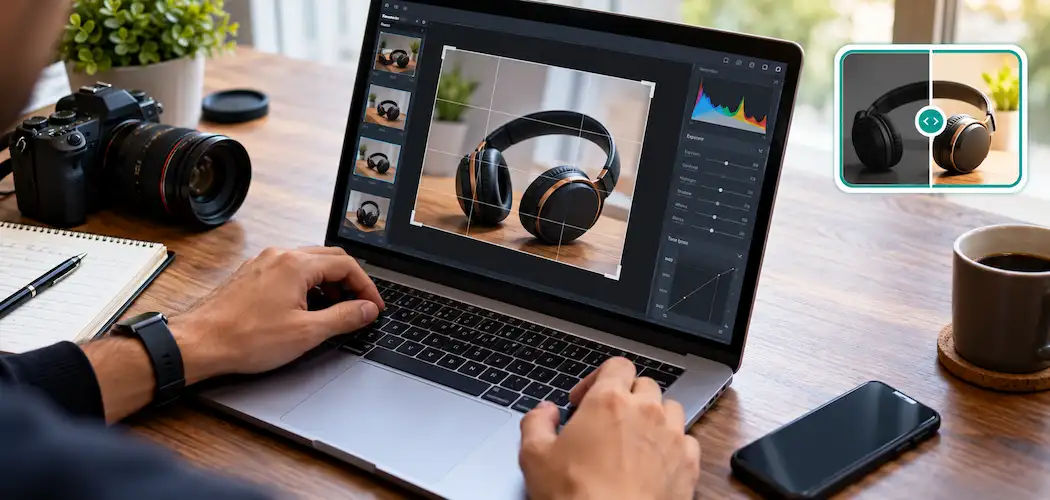
A useful technology tutorial depends on images that explain a task as clearly as the accompanying words. A photograph of a workstation, a device connection, or a small component can answer questions that a paragraph leaves open. However, a busy background, uneven lighting, or an awkward crop can make those details harder to see. A deliberate editing routine helps creators improve clarity while preserving the information that makes the photograph trustworthy.
The goal is not to turn every image into a dramatic advertisement. It is to help readers identify the subject, understand its context, and follow the next step. That requires a combination of careful capture, restrained adjustments, and review at the size in which the image will actually appear. AI assisted tools can be part of that process, but the creator remains responsible for deciding whether an edit still represents the original scene accurately.
Define what each photograph must explain
Before opening an editor, write down the purpose of the image in one sentence. A close view might show which port a cable uses. A wider photograph might explain where a router sits in a room. Another image might illustrate the layout of a compact home office. These purposes call for different framing decisions, so applying the same crop to every photograph rarely produces the clearest tutorial.
Keep the original files in a separate folder and work with copies. Use filenames that describe the subject and sequence, such as a device name followed by the relevant step. This modest preparation makes it easier to compare versions, replace a mistaken export, and return to the source if the tutorial changes later. It also prevents a quick experimental adjustment from becoming the only surviving version of an important image.
Correct framing before adding visual polish
Start by straightening the photograph and considering its crop. Remove empty space that does not help explain the task, but leave enough context for the reader to recognize the equipment. A tight crop around a connector may be useful in one step, while the preceding image needs to show the whole device so readers know where to look.
Pay attention to the edges of the frame. A cable leaving the photograph, a partially visible label, or a hand covering a control can create uncertainty. Sometimes the best correction is a new photograph rather than a more elaborate edit. Editing cannot reliably recover information that was never captured, and a simple reshoot can be faster than trying to repair a confusing composition.
Balance brightness and color with restraint
Adjust exposure until the important parts are easy to distinguish. Brightening shadows can reveal a dark socket or a small switch, but excessive correction may introduce noise or wash out nearby surfaces. Review highlights as well: a bright reflection on a device label may hide the very information that the image is meant to explain.
Color balance should make the scene look plausible. Indoor lighting can give white surfaces an orange or blue cast, while a mixed lighting setup can produce inconsistent color across a series. Use a neutral reference when one is available, and compare related images together. Consistency helps the tutorial feel coherent without requiring every photograph to have identical brightness or contrast.
Give AI assistance a specific job
Broad instructions such as making a photograph look professional leave too much room for interpretation. A more useful request identifies a limited problem, such as reducing a distracting background element while preserving the device and its cable connections. When considering an AI Photo editor for a workflow, test it on a copy and compare its output with the original before deciding whether the result belongs in a tutorial.
Evaluate the current tool interface, available controls, and output quality directly instead of assuming that every service behaves the same way. An adjustment that works well for a decorative workspace image may be inappropriate for a technical closeup. Watch for changed symbols, softened text, invented edges, or altered connector shapes. If an automatic edit changes information that readers need, discard that version and use a simpler adjustment.
Separate illustration from evidence
A stylized scene can be useful as a general illustration, but a photograph that supports a technical instruction has a different responsibility. Keep connection points, indicator lights, labels, and relevant screen content intact. Avoid removing a warning label or adding a light that suggests a device is powered on when it was not. Visual clarity should not come at the expense of factual clarity.
Before uploading images to any online editor, check for private information. A desk photograph may include an address on a package, an identification badge, or a readable note. Device photographs can expose network names or serial numbers. Obtain permission for images involving other people and follow any applicable workplace rules. When an image contains confidential material, choose an approved editing process or capture a safer version of the scene.
Review the export in its real setting
Export a version suited to the tutorial layout, then inspect it at the expected display size. Fine detail that appears clear in a large editor window may disappear on a phone. Check whether the subject remains recognizable, labels remain readable, and compression has introduced distracting artifacts. Keep a larger working version so that a future layout change does not require starting from a small compressed file.
Place the image beside its caption and the relevant instruction during review. The caption should explain what readers are seeing and why it matters, while alternative text should convey the essential information for people who cannot view the photograph. Ask a colleague to follow the sequence without extra explanation. Their questions can reveal missing context more effectively than another round of visual polish.
Build a repeatable review habit
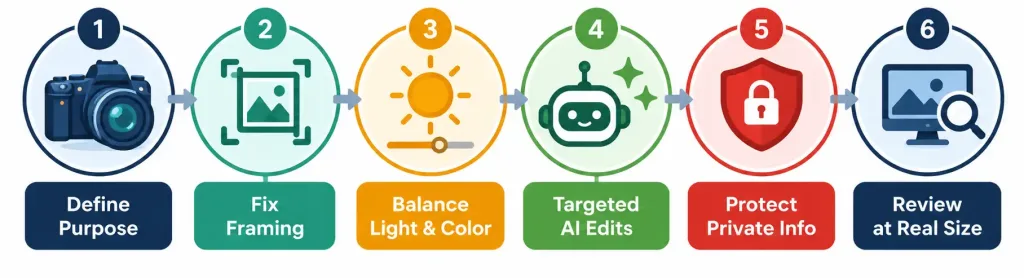
A short checklist makes the process easier to repeat: confirm the purpose, preserve the original, improve framing, adjust light and color, inspect any automatic changes, and review the final export in context. The value of this routine comes from consistent judgment rather than the number of effects applied. Clear, accurate photographs help a technology tutorial earn readers’ attention and make its instructions easier to use.