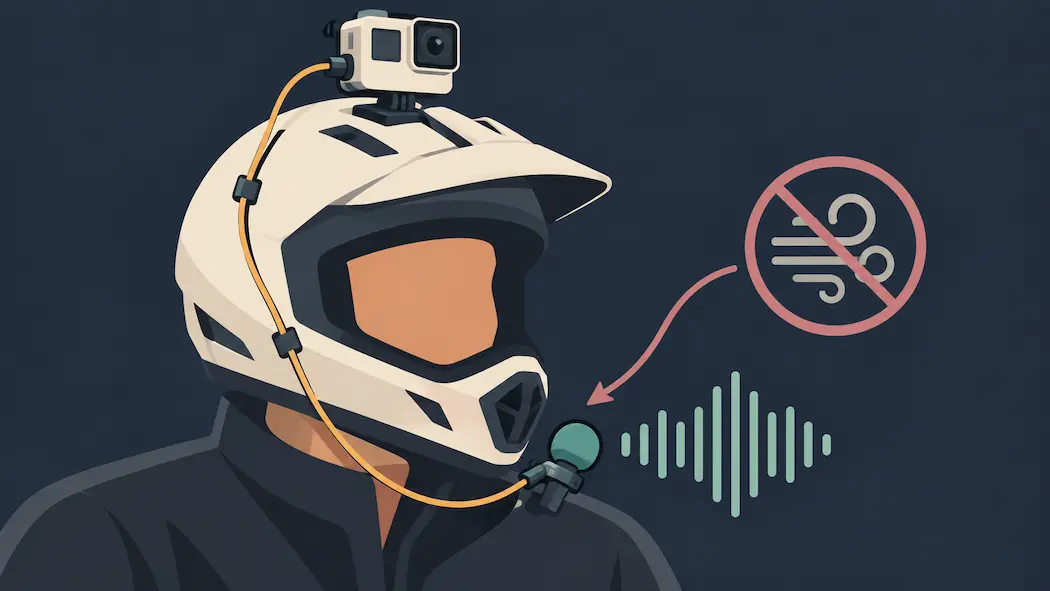
Action cameras are built for one job above all else: surviving conditions that would destroy a regular camera. Waterproofing, impact resistance, and a compact housing are the priorities, and audio quality has historically been what gets sacrificed to make room for all of that. Anyone who’s reviewed footage from a GoPro or Insta360 and found the audio buried under wind noise, muffled by the housing, or just thin and tinny knows the problem firsthand.
A microphone attachment solves this by routing audio through an external mic instead of relying on the camera’s built-in hardware. This guide covers how these attachments actually work, what to look for, real current options worth considering, and how to set one up properly.
Why Built-In Action Camera Microphones Struggle
Action camera microphones are small by necessity, tucked into a housing designed primarily for durability and weatherproofing rather than acoustic performance. A few specific problems show up consistently:
Wind noise is the most common complaint, especially during activities like cycling, skiing, or anything involving consistent airflow across the camera. Built-in mics generally lack the physical space for effective wind protection that a dedicated external mic can include.
Housing interference is another issue — many action cameras are used inside a protective case for water or impact resistance, and that case sits directly between the environment and the microphone, muffling sound even in calm conditions.
Distance and directionality also work against built-in mics. A camera mounted on a helmet, chest rig, or pole is often several feet from the person actually talking, and a basic omnidirectional mic captures everything in the environment roughly equally — including whatever’s making noise behind the camera.
It’s worth noting that built-in audio hardware has genuinely improved on some newer cameras — our GoPro Mission 1 Pro review covers a model with four built-in microphones and 32-bit float recording, a meaningful step up from older built-in audio. Even so, an external attachment still outperforms any built-in setup for the specific problems — wind, housing interference, and distance — covered above.
How Microphone Attachments Actually Work
An attachment connects an external microphone to the camera, bypassing the limited built-in hardware. The exact mechanism depends on the camera:
Media mod or adapter-based connections — GoPro’s Media Mod, for example, adds a 3.5mm microphone jack and additional ports to cameras that otherwise only support a proprietary connector. This lets you plug in a wide range of standard microphones rather than being limited to GoPro’s own ecosystem.
Direct wireless connections — Some modern wireless microphone systems connect directly to action cameras via Bluetooth or a camera-specific receiver, skipping cables entirely. DJI’s Mic 2, for instance, can connect directly to cameras like the DJI Osmo Action 4 and Osmo Pocket 3 via Bluetooth, in addition to supporting USB-C, Lightning, and a standard 3.5mm output for broader camera compatibility.
USB-C audio input — Many newer action cameras include a USB-C port that can accept compatible external microphones directly, without needing a separate adapter accessory.
Types of Microphones Worth Considering
Lavalier (clip-on) microphones are the most common choice for vlogging and narration, since they clip directly onto clothing close to the speaker’s mouth, largely bypassing the distance and ambient-noise problems a camera-mounted mic faces. DJI’s Mic 2 system is a well-regarded current example — it offers a maximum wireless range of roughly 250 meters (820 feet) in open, unobstructed conditions, a frequency response of 50 Hz to 20 kHz, and support for 32-bit float internal recording, which gives considerable flexibility when adjusting audio levels after the fact. It connects via USB-C, Lightning, a standard 3.5mm output, or Bluetooth depending on the device.
Shotgun microphones are more directional, picking up sound primarily from whatever they’re pointed at while rejecting more of the surrounding noise. These suit documentary-style or interview footage better than solo vlogging, since they’re less forgiving of a moving, untethered subject.
Omnidirectional external mics pick up sound from all directions, similar to a built-in mic’s pattern, but with better overall audio hardware and often a proper wind screen — a reasonable middle-ground choice when you want ambient environmental sound captured along with voice.
Wired vs. Wireless: The Real Trade-Off
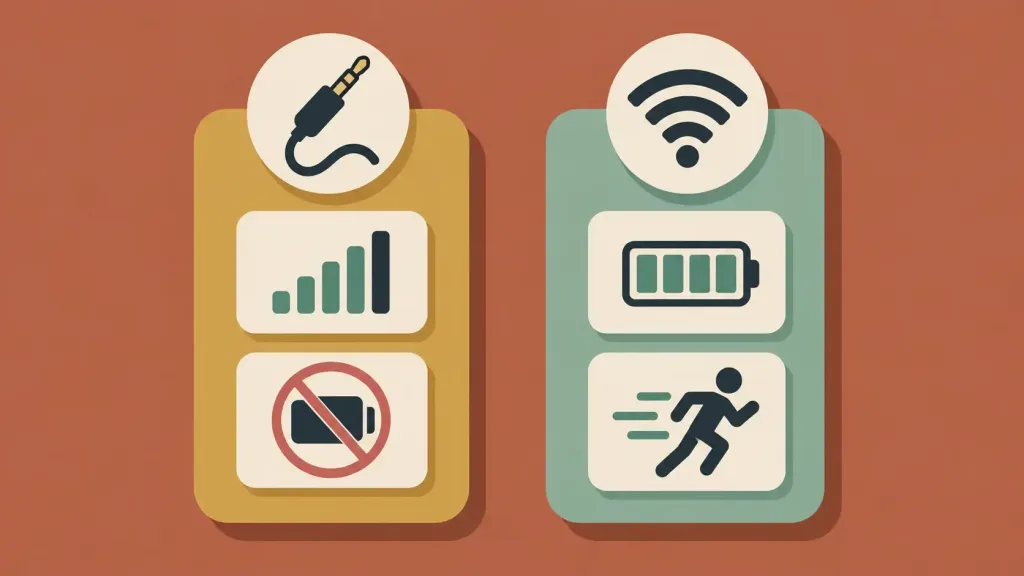
Wired connections remain the most reliable option when latency and signal dropout are a concern — there’s no wireless connection to lose, and no battery on a separate transmitter to manage. The trade-off is physical: a cable can snag during high-movement activities, and it tethers the microphone’s range to the cable’s length.
Wireless systems solve the mobility problem but introduce their own considerations: a separate battery to charge and monitor, and the possibility (though a diminishing one with modern 2.4GHz systems) of interference in crowded radio environments. Most reputable modern wireless systems, including DJI’s current Mic lineup, are specifically designed to minimize these issues, and for most users the mobility trade-off is well worth it.
Setting Up an Action Camera Microphone Attachment
- Confirm compatibility first. Check your specific camera model’s supported connection types — some accept 3.5mm input only with an adapter accessory, others support direct USB-C or Bluetooth connections natively.
- Choose the mic type that matches your use case. A lavalier for solo vlogging and narration, a shotgun mic for directional interview-style audio, or an omnidirectional mic if you want balanced ambient sound alongside voice.
- Test before committing to a shoot. Record a short clip in conditions similar to your actual use case — outdoors, with whatever wind or background noise you’ll actually encounter — rather than assuming indoor test results will hold up outside.
- Secure the physical connection. For wired setups, use any included clips or cable management to prevent snagging during movement. For wireless setups, confirm both transmitter and receiver are fully charged before heading out, since there’s often no convenient way to recharge mid-activity.
- Check sync in your editing software. Most modern systems keep audio and video well synchronized automatically, but it’s worth a quick check in your first few projects, particularly with wireless setups, before assuming every future clip will line up perfectly.
A Reasonable Starting Budget
If you’re testing whether an external mic meaningfully improves your footage before investing in a premium setup, a basic wired lavalier microphone in the $20–30 range is a reasonable way to confirm the improvement before spending more. From there, a mid-range wireless system — DJI’s Mic 2 and similar current options generally sit in the $200–350 range depending on the kit configuration — offers meaningfully more flexibility: better range, dual-channel recording for interviews, and generally stronger build quality for repeated outdoor use.
Frequently Asked Questions
Why does my action camera’s audio sound muffled even indoors?
This is usually a combination of a small, basic built-in microphone and, if you’re using a protective housing, the case itself muffling sound before it reaches the mic. An external microphone attachment bypasses both problems.
Do I need an adapter for every action camera brand?
It depends on the model. Some cameras support direct USB-C or Bluetooth microphone connections; others, particularly older GoPro models, need a specific adapter accessory like the Media Mod to add a standard 3.5mm input.
Is a wired or wireless microphone better for action cameras?
Wired is generally more reliable for latency and signal consistency but limits mobility and can snag during movement. Wireless offers much more freedom of movement at the cost of needing to manage a separate battery and charge cycle.
How much should I expect to spend on a decent external mic?
A basic wired lavalier mic can be found for $20–30 to test the concept. Reputable wireless systems with better range and audio quality generally run $200–350 depending on the specific kit and accessories included.
Can I use any microphone with any action camera?
Not universally — compatibility depends on the camera’s available ports and supported connection types. Always check your specific camera model’s documentation before buying a microphone attachment.
The Bottom Line
The gap between a built-in action camera microphone and a proper external one is immediately noticeable the first time you compare the two side by side. Whether you go wired for reliability or wireless for freedom of movement, matching the microphone type to your actual use case — lavalier for solo narration, shotgun for directional interviews, omnidirectional for balanced ambient sound — matters more than chasing the most expensive option available. Confirm compatibility with your specific camera before buying, test in real conditions before an important shoot, and the audio half of your footage will finally match the quality of the video half.