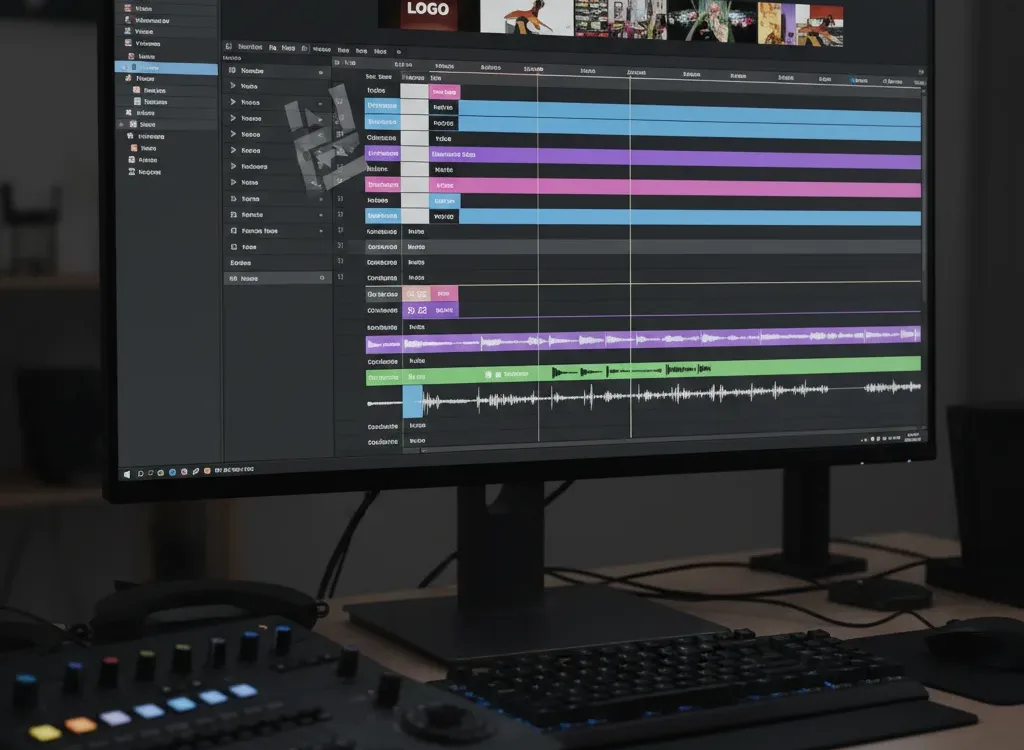
Open any video editor, and you will see a strip along the bottom of the screen. That strip is the timeline, and it holds rows called tracks. A simple editor gives you one row for video and one for sound. A multi-track editor lets you stack several rows on top of each other.
That difference decides what you can actually build, because one row is enough for cutting a clip down. Several rows are needed the moment you want a logo over your footage, or music under your voice. This guide explains how tracks work, when you need more than one, and how layering looks inside the Wondershare Filmora video editor.
Part 1. What Is a Track in Video Editing?
A track is simply a row on the timeline. Each row holds one kind of content, and all the rows play at the same time. Most editors let you place these items on tracks of their own:
Video Clips: Your main footage sits on a video track, usually the bottom one.
Images: Photos, logos, and screenshots go on a video track above the footage.
Text: Titles and captions take their own track, so their timing stays easy to change.
Voiceover: A recorded narration sits on an audio track, kept apart from the camera sound.
Music: A background song goes on its own audio row so its volume can be set alone.
Sound Effects: Short sounds such as clicks or whooshes need a separate row to be placed precisely.
Not every project uses all 6. Each one becomes far easier to control once it has a row to itself.
Part 2. How Video and Audio Layers Work Together
Video rows and audio rows follow different rules. Learning the difference early saves a lot of confusion later, because the two stack in opposite ways.
Video Layers Stack from the Bottom Up
On the video side, whatever sits higher covers whatever sits lower. Your main footage goes on the bottom track. A logo placed on the track above appears on top of that footage in the preview. If you cannot see something you added, it is usually hidden behind a clip on a higher row.
Audio Layers Play All at Once
Audio works differently because nothing covers anything. Every audio track plays together, and the volumes add up. That is why dialogue, voiceover, music, and sound effects each get a row of their own. In Filmora video editor, right-clicking a clip and choosing “Detach Audio” moves the camera sound onto its own track so it can be changed alone.
Part 3. When Is a Single-Track Editor Enough?
Plenty of jobs never need a second row. Cutting the dead air off the front of a clip takes one track, and so does joining three holiday clips into one file. A set of photos turned into a slideshow with one song works the same way.
Trimming a screen recording down to the part that matters belongs in the same group. A basic video editor for PC handles all of these without trouble, and adding rows would not make any of them faster.
The same is true of short and casual projects, so a 10-second clip for a group chat will finish faster in basic video editing software. If nothing has to sit on top of anything else, extra tracks only add clutter to the screen. Choosing the simpler tool in those cases saves time rather than costing quality.
Part 4. When Do You Need Multi-Track Editing?
Layers become necessary as soon as two things have to appear at once. These 5 project types almost always need them:
| Project Type | Why It Needs Layers |
|---|---|
| YouTube Videos | B-roll covers cuts in the main take, and music sits under the talking |
| Tutorials | Arrows, boxes, and captions sit above the screen recording |
| Interviews | Two camera angles stack up, and each person’s audio stays separate |
| Product Demos | A logo, a price, and a call to action appear over the product shot |
| Marketing Videos | Text, graphics, voiceover, and music all run at the same time |
In every one of these, a single row would force you to choose between the elements instead of showing them together.
Part 5. How Multi-Track Editing Works in Practice
A capable multi-track editor puts all of this in one window. To get started, download your preferred tool from the official Filmora download page. The Media Library on the left holds your imported files, and the Preview window above the timeline shows the current frame. The playhead is the vertical line that moves across the timeline, and whatever it touches is what you see in the preview. The example below shows how a simple layered project comes together.
To add a new layer in Filmora, simply drag the video across the timeline and place it above the existing video. Otherwise, right-click on the left of the timeline to open the “Track Manager” for adding several tracks at once.
Step 1. Put the Main Video on the First Track
Drag your main footage from the “Media Library” onto the bottom video track. This is the base layer, and everything else will sit above it.
Step 2. Add B-Roll or an Image Above It
Drop a second clip or a photo onto the track directly above. It now covers the main footage for as long as it lasts, which is how a cutaway works.
Step 3. Put Narration and Music on Separate Audio Tracks
Drag your voiceover onto one audio track and the music onto another. Keeping them apart means each one gets its own volume control.
Step 4. Adjust the Timing and Volume
Slide clips left or right to change when they appear and drag their edges to change how long they last. Lower the music level until the narration sits clearly on top of it.
Note: The “Eye” icon on a video track hides it, and the “Speaker” icon on an audio track mutes it. A “Lock” icon stops a finished row from being moved by mistake. All three help when you want to work on one layer at a time.
Conclusion
Multi-track editing is not a skill you have to learn all at once. It simply means giving each part of your video its own row, so one thing can move without disturbing the rest. If your project is only clips in a line, one track is fine.
Once you understand how tracks work, most modern video editors will feel familiar, since they all follow the same layering logic under the hood. For a detailed setup walkthrough, visit the Filmora installation guide.