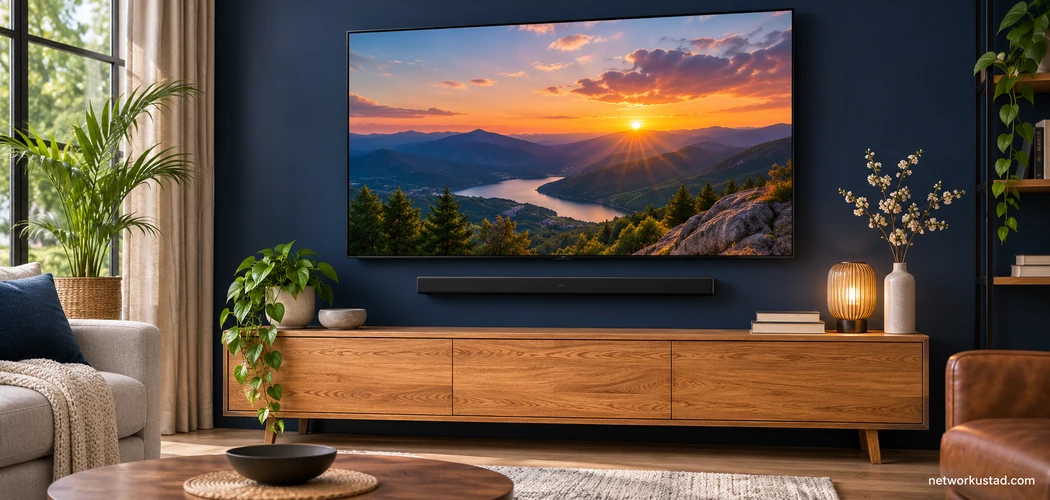
Start with the model number on your TV and the label beside its audio port. A soundbar can fit perfectly under the screen but still lack the connection you need. If you are buying used, check the complete model number in the listing too. Similar names can refer to different products.
This guide covers Sony-made soundbars and the HT-A9 home theatre system. Use it to check the connection, the space under your TV, and what you would need to buy separately.
Sony TV Soundbars Compatibility Checklist
| Check | What to confirm |
|---|---|
| TV audio output | Find the HDMI port labelled ARC or eARC, or confirm the TV has an optical audio output. |
| Soundbar connection | Check that the bar has the matching connection. Look for a TV-labelled HDMI port or an optical input. |
| Audio formats | Compare what the source sends, what the TV passes through, and what the audio system accepts. |
| Room and furniture | Measure the space under the screen and allow room for cables, speakers and power cords. |
| Used listing | Ask for photos of the model label, ports, remote, power supplies and any separate speakers or subwoofer. |
Choose HDMI ARC, eARC, or Optical
ARC stands for Audio Return Channel. It lets the TV send audio back to a soundbar through a compatible HDMI connection. Look for the TV port marked ARC or eARC. A generic HDMI port may accept video from a source without sending TV audio to the bar. On the soundbar, the matching port may be marked HDMI OUT because it can also send video to the TV. Sony shows this connection in the HT-A7000 ARC and eARC setup guide.
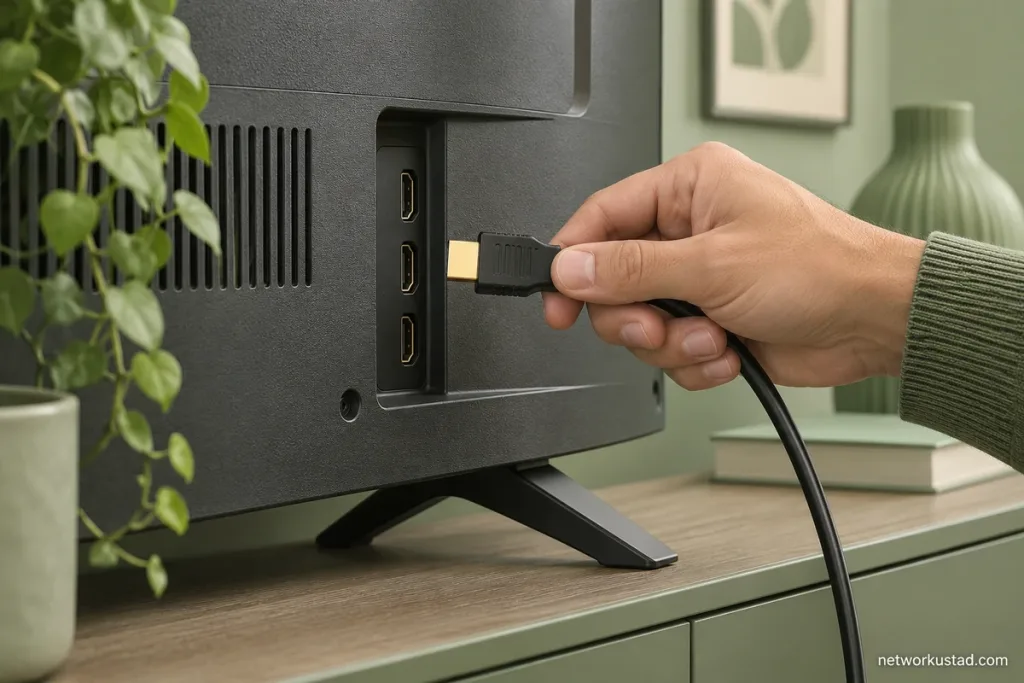
eARC can carry higher-bandwidth audio formats when the equipment and source support them. If you want a particular format, check the full chain. A console or disc player may output a format that the TV cannot pass through to the bar. A streaming app may also offer different audio from a disc. Check the manuals and test with a source that provides the format you want.
Optical is an alternative if your TV and soundbar both support it. It can be enough for everyday TV audio, but check the formats both devices accept. You may also need to use the soundbar remote for volume, depending on how the TV and remote handle control. After connecting, select the external audio system in the TV settings and test it with a familiar programme.
Compare Four Older Sony Models
| Model | What it is | What to check on a listing |
|---|---|---|
| HT-S200F | Compact 2.1-channel bar with a built-in subwoofer. It supports HDMI ARC and optical input. | Confirm the connection you plan to use and ask for the remote and power adapter. |
| HT-A7000 | Larger bar with HDMI eARC/ARC. Compatible separate speakers and subwoofers can expand the setup. | Measure the cabinet and ask which accessories, if any, the seller is including. |
| HT-A9 | A home theatre system with a control box and four separate speakers. | Confirm all four speakers and their power cords are present. Treat the SA-SW5 as optional unless the listing includes it. |
| HT-Z9F | A 3.1-channel soundbar system originally supplied with a wireless subwoofer. | Ask whether the matching subwoofer is present and paired. Confirm any rear speakers separately. |
Check Sony’s optional speaker compatibility list before buying a subwoofer or rear speakers. Match the complete model number. Accessories with similar names can belong to different systems.
Measure the Space and Test the Setup
Measure the gap below the TV and the depth of the cabinet. A bar can cover the bottom of the picture or block the TV’s remote sensor. Leave room for the HDMI cable to connect without a tight bend. If the bar has upward-firing speakers, check its placement instructions before putting it inside a shelf.
With the HT-A9, plan for four speaker positions and power near each one. Wireless audio still requires power at the speakers. If you want a separate subwoofer, decide where it will sit and add it to the total cost before comparing it with a simpler bar.
For a used purchase, ask the seller to demonstrate sound from the TV, volume control, and any separate speakers included in the sale. Test your own TV apps and external sources during the return period. Start with ordinary dialogue, then try the content and formats you bought the system to play. A setup that works with your everyday sources and fits the room is the one worth paying for.