
The best camera for product photography is the one that delivers the images your business needs within a complete, workable budget. A costly body can record plenty of detail, but it cannot choose the right viewpoint, remove distracting reflections or make a poorly lit label readable.
Start with the products. A ceramic mug, a polished ring and a full-length garment create different problems. Their size, surface and intended image use should shape your lens, lighting and camera choices. The right setup also needs to produce consistent results when the next batch arrives.
This guide compares practical buying approaches and manufacturer-documented examples. It does not claim original laboratory testing or a universal winner. Prices, stock, repair services and software compatibility vary by country, so compare current local offers before paying.
What makes the best camera for product photography?
A useful product camera gives you repeatable control over exposure, focus and colour, paired with a suitable lens. It should fit the way you work: occasional marketplace listings, regular catalogue batches or high-resolution commercial assignments.
Manual exposure, RAW capture, reliable focusing and a usable screen are worth considering before headline burst speed. A stable tripod and predictable light can be more valuable than advanced subject tracking when the product remains still. Autofocus accuracy still matters; a stationary subject does not make missed focus harmless.
The best camera for product photography should also fit the final output. A listing viewed on a phone has different needs from a heavily cropped advertising image or a large print. Define those requirements before deciding that you need more pixels.
Ask three questions: Can the system frame my smallest product properly? Can I control light and sharpness consistently? Can I review, edit and deliver files without unnecessary delays? If one answer is no, an impressive camera specification will not solve the whole problem.
Choose by workflow before choosing a model
| Your work | Sensible starting approach | Main buying check |
|---|---|---|
| Occasional listings of medium-sized items | Test your existing phone or camera with better light and support | Are labels and edges clear at the required delivery size? |
| Regular small-business catalogue batches | An interchangeable-lens camera with a suitable lens and repeatable lighting | Can you maintain framing, colour and focus across products? |
| Jewellery and tiny details | A camera system with an appropriate close-focusing or macro lens | Magnification and usable working distance |
| Commercial work requiring large files | A higher-resolution system, rented first if possible | Lens quality, file handling and actual client requirements |
| High-volume studio production | A system verified with your tethering software and computer | Remote control, review, naming and connection stability |
These are buying routes, not claims that one camera class is always superior. An existing system may already be adequate. Make a representative test image and inspect the delivered result before replacing equipment.
Camera examples worth comparing
Canon EOS R50: a small interchangeable-lens starting point
Canon documents the EOS R50 with an approximately 24.2-megapixel APS-C sensor, RAW recording and the RF mount. RF and RF-S lenses are supported; compatible EF and EF-S lenses require the appropriate adapter. EF-M lenses are excluded from that adapter route.
These details make it a reasonable example to investigate for a small tabletop setup, rather than an automatic first-place recommendation. Check the cost of the lens you actually need and whether the camera’s handling suits tripod use in your workspace.
Read the Canon EOS R50 specifications before buying adapters or accessories. If you plan to use studio flash, verify the exact trigger, shoe or adapter combination. Do not assume that an accessory fits or functions simply because it worked on another Canon body.
Nikon Z5II: investigate the computer-connected workflow
The Nikon Z5II is an example to consider when computer-controlled shooting matters. Nikon’s documentation includes it among cameras supported by NX Tether. That is a reason to investigate the workflow, not evidence that it will outperform another system in your studio.
Before purchasing, test the intended combination of camera firmware, software version, operating system and cable. Check whether the functions you need are available through that connection. File transfer, remote exposure control and live view are separate capabilities; the presence of one should not be treated as proof of all three.
For anyone evaluating the best camera for product photography for regular catalogue production, this kind of practical compatibility check can save more time than a small difference in sensor resolution.
Sony A7R IV: a high-resolution used-camera example
Sony specifies approximately 61 effective megapixels for the A7R IV. Its Pixel Shift Multi Shooting can produce an approximately 240.8-megapixel composite from 16 shifted captures. The earlier article’s 244-megapixel figure was inaccurate.
A composite mode is not the same as taking a single ordinary photograph at that resolution. It introduces capture and processing requirements, and movement or changing light can create problems. Evaluate it with your products before making it the reason for a purchase.
The A7R IV is worth considering as a used high-resolution option only when the lens, condition, file sizes and total system cost make sense. The best camera for product photography is not automatically the one producing the largest files.
What about the older cameras in the previous list?
The Nikon D7200, Nikon D610, Canon EOS M50 Mark II and Sony a6000 may still be useful to existing owners or buyers considering suitable used equipment. Their age does not make them incapable of photographing products. It does make condition, lens availability and workflow compatibility important.
Some previous explanations needed correction. The Sony a6000 has approximately 24.3 effective megapixels, not 24.2. Nikon describes the D7200 as having no optical low-pass filter. The earlier references to a “shock-proof filter” confused optical filtering with impact protection.
Do not buy an older system because a short list calls its autofocus faultless or promises excellent results without conditions. Ask what the complete kit costs, which lenses fit and whether the camera can perform the tasks you need. Existing owners should test their current equipment before assuming an upgrade is necessary.
Lens choice can matter more than the body
A lens determines how closely you can frame the product, how much working space remains for lighting and how the scene is rendered from your chosen position. Camera-body recommendations are incomplete without that context.
For medium-sized objects, a normal or short-telephoto field of view is often a practical starting point. Avoid moving an unnecessarily wide lens very close to the product if that creates exaggerated proportions. Perspective changes with camera position; it is not corrected simply by buying a more expensive body.
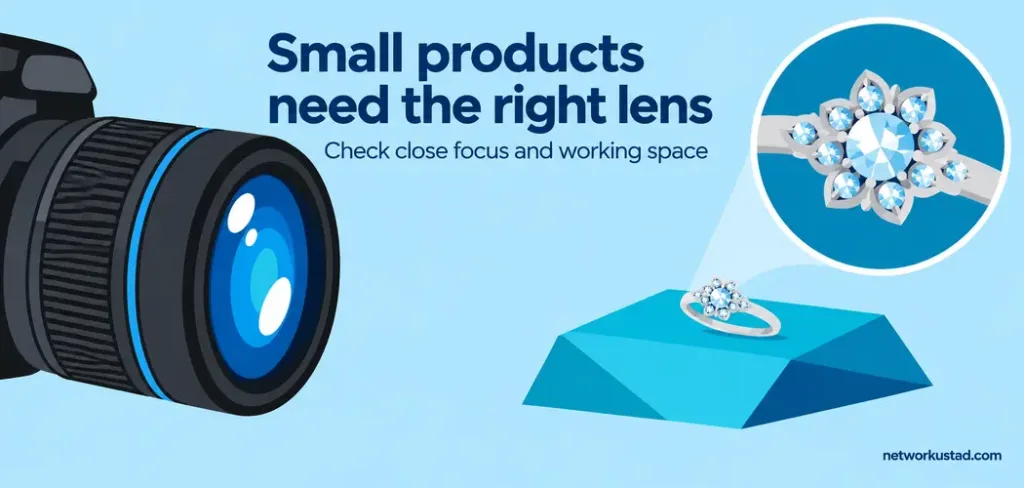
For tiny products, examine maximum magnification and minimum focusing distance. A lens described as “macro” in marketing may not provide the reproduction ratio you expect. Also check working distance: the available space between the front of the lens and the subject can affect how easily you position lights and reflectors.
When comparing the best camera for product photography, price the appropriate lens at the same time. A cheaper body with the right lens can be a more useful purchase than a premium body paired with a lens that cannot frame your smallest item.
Lighting and backgrounds deserve their own budget
Before changing cameras, try changing the light. A larger diffused light source can create a different appearance from a small direct source, while a reflector can lift a dark side without adding another lamp. Adjust the setup while inspecting the actual surface of the product.
Reflective objects need particular care. Bottles, polished metal and glossy packaging may show the surrounding room or bright reflections. Move the light, diffusion or reflection-control materials deliberately. A new camera does not remove reflections that are already present in the scene.
A background should support accurate, consistent presentation. Keep it clean, allow enough space around the product and check that its colour does not contaminate the appearance you need. If a marketplace requires a specific background, consult its current rules rather than assuming every platform has the same requirements.
For repeat work, note the light position and camera height. Simple reference marks and a saved example image can help you rebuild a setup. The best camera for product photography earns its place in a process that produces consistent results, not just one attractive frame.
Focus, aperture and texture: avoid automatic rules
Shallow depth of field can isolate a detail, but it can also leave part of a product unreadable. Decide whether the picture is a creative detail image or a clear catalogue view. Those purposes may require different choices.
Begin with an aperture that gives useful depth of field, then inspect the result. Stopping down further can increase depth of field, but very small apertures can reduce fine detail through diffraction. There is no single aperture that is best for every sensor, lens, distance and product.
Focus stacking is an option when one exposure cannot provide the required depth of field. It combines images focused at different distances and needs suitable software and careful capture. Watch for merging errors around transparent, reflective or finely detailed edges.
Fabric patterns also deserve close inspection. Repeating textures can produce moiré or false colour under some conditions. An optical low-pass filter concerns image sampling; it does not make a camera shockproof. If textiles are a major part of your work, test representative material rather than treating filter presence or absence as a universal advantage.
Tethering: check the exact features you need
Tethering lets you connect the camera to a computer for functions that may include transfer, remote control and image review. Seeing a product at a larger size can reveal focus errors or label reflections before you dismantle the setup.
Nikon’s NX Tether documentation distinguishes supported cameras and feature limitations. Use the current compatibility information when choosing a Nikon setup. For another brand, perform the equivalent check with the intended software rather than assuming every USB connection offers the same functions.
Try a representative batch before committing to the best camera for product photography for your business. Confirm that files arrive where expected, exposure controls behave correctly and the connection remains stable. Check power requirements for a longer session and protect the cable from being pulled accidentally.
A workflow that saves review time can be valuable, but only if the complete combination works. Budget for a suitable cable, computer storage and any software licence as well as the camera itself.
For USB background, NetworkUstad’s peripheral connection guide explains why connector shape and data-transfer capability are different specifications. Check both when connecting the best camera for product photography to your computer.
Build a repeatable capture and editing process
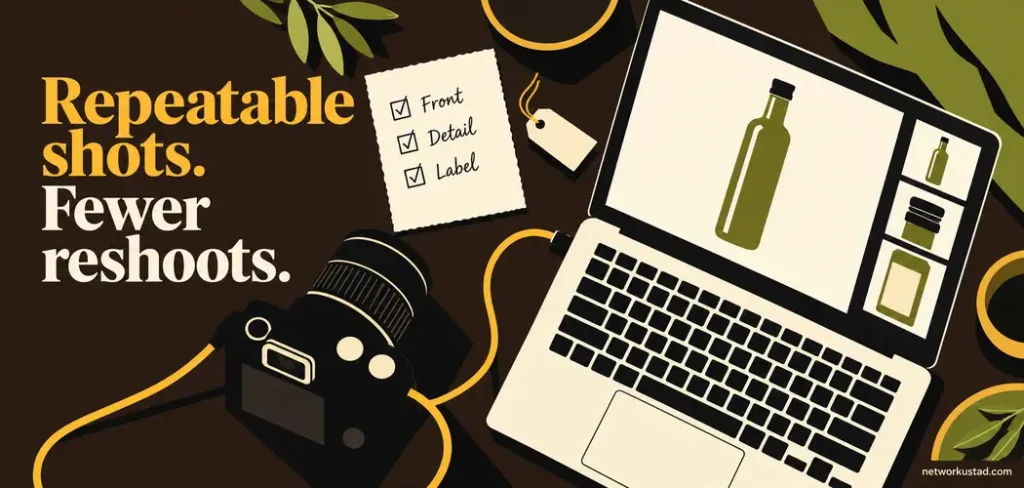
Use a short shot list for each product category. A typical set might include a front view, back view, readable label, detail and size reference where appropriate. Keep the framing consistent enough that a collection looks coherent without concealing important differences between items.
Record a reference for colour and exposure when setting up the light. RAW capture provides editing flexibility, but it cannot recover every clipped highlight or correct every lighting problem. Check important colours against the real product and avoid edits that misrepresent its condition, size or finish.
Keep original captures separately from delivery files. Name files so that you can identify the product and view without opening every image. Export to the dimensions, format and colour requirements of the destination, then inspect that final export rather than relying only on the editing preview.
The best camera for product photography should support this process without making routine work unnecessarily difficult. A reliable, familiar system is often more useful than an elaborate setup that nobody has time to operate consistently.
Budgeting and buying used
Compare complete kits: body, lens, tripod, lighting, background, memory card, power accessories and software. If two bodies compete for your budget, ask what would be lost from the rest of the setup by buying the more expensive one.
For a used camera, inspect controls, lens mount, ports and screen. Make test exposures and review them for obvious faults. Check whether the seller offers a return period and whether the described warranty covers the parts and problems you care about.
A shutter count can provide context but does not prove overall condition. Review repair history, signs of impact and the behaviour of the camera with the intended lens. Avoid treating a short demonstration as proof of long-term reliability.
Renting can answer expensive questions. Before investing in a high-resolution body or specialised macro setup, photograph your actual products and complete the editing process. That is a stronger basis for identifying the best camera for product photography than comparing marketing photographs alone.
Frequently asked questions
Do I need a full-frame camera?
No. Choose according to framing, lens options, required output and workflow. A smaller-sensor camera can be suitable for many catalogue tasks. Compare actual results and total cost rather than assuming the larger sensor automatically solves your problem.
Is 24 megapixels enough?
It can be enough for many online listings, depending on cropping and delivery requirements. Inspect the final image at its intended size. Large prints, heavy crops or demanding clients may justify more resolution, but define that need before paying for it.
Can I start with a phone?
Yes, particularly for occasional listings. Test a stable support, controlled light and careful framing first. If the results fail your requirements, identify whether the limitation is close focus, control, detail or workflow before choosing another camera.
Should I buy a macro lens immediately?
Only if the products and required framing justify it. Photograph the smallest item you need to sell and check the detail at delivery size. Larger products may be handled adequately by a suitable non-macro lens.
Which camera is the overall winner?
There is no defensible universal winner without a defined budget, product type and comparison method. The best camera for product photography is the system that meets your output requirements with suitable lenses, controlled lighting and a dependable process.
Make the purchase solve a specific problem
Write down what your existing setup cannot do. If the issue is poor reflections, investigate lighting. If small details cannot fill the frame, investigate the lens. If reviewing hundreds of images slows production, test the computer-connected workflow.
Choose the camera only after those requirements are clear. A complete setup, checked with real products and final delivery files, gives you a much stronger buying decision than a ranking built around megapixels alone.